Working with signed and self-signed camera drivers
Last Revision Date: 9/1/2014
This article explains the availability of signed and self-signed camera drivers with our SDK releases, and provides instructions for installing self-signed drivers.
We provide both signed and self-signed drivers with releases of the FlyCapture and Ladybug SDKs. Self-signed drivers are updated for each minor release, while signed drivers are updated less frequently. During an SDK install, the user has the option of installing the host controller or camera drivers. If the user chooses to install a driver, the signed version of the driver is installed. However, if the SDK version you downloaded is not a major release, there may be more recent, self-signed driver versions that were downloaded as well. You can upgrade to these versions using any of the following methods:
-
- DriverControlGUI utility. This is a graphical utility installed by default in the \bin folder of the SDK installation directory. Note: you cannot run a 32-bit version of DriverControlGUI/DriverInstallUtility on a 64-bit machine.
- DriverInstallUtility. This program is installed by default in the \bin folder of the SDK installation directory.
- Manual installation using the Windows Device Manager.
Switching Drivers Using DriverControlGUI
Our driverControlGUI utility is installed by default in the \bin folder of the SDK installation directory, and is an easy way to switch between different drivers. It is also available from the Start menu.
The interface is divided into two panes. The left pane lists detected cameras and interface cards under their interface tabs and the right pane displays driver information. Host controller drivers are installed on cards only, while camera drivers are installed on the cameras.
After selecting a device, the right pane displays the available drivers for that device. To switch drivers, select a driver, then click Install Driver.
Note: DriverControlGUI may produce unexpected results on some systems. If this utility is not successful, use one of the other two methods described below.
Automatic Driver Upgrade Using DriverInstallUtility
You can use the DriverInstallUtility to install camera drivers outside of the standard SDK setup installation. DriverInstallUtility is installed by default in the \bin folder of the SDK installation directory. This tool uses the libraries provided in the DriverPackageInstall function of the Microsoft Windows Driver Kit. More details about this function are provided on Microsoft's website.
The following Windows console example uses the DriverInstallUtility to install the PGRCAM driver:
DriverInstallUtility /i pgrcam.inf 20
Where /i specifies install, and 20 is the sum of 4 (FORCE) and 16 (LEGACY). The FORCE flag forces installation regardless of how well any existing drivers match the camera device. When using Windows XP, the LEGACY flag allows the driver to be installed regardless of whether it is signed or self-signed.
For more information on usage, run DriverInstallUtility with no parameters.
Manual Driver Upgrade Using Windows Device Manager
- In Device Manager, right-click on the camera and select Update Driver. If you are upgrading or installing our host controller driver, no camera appears in Device Manager in this case. If you are upgrading a camera driver, right-click on the camera and select Update Driver.
- On the first screen of the Hardware Update Wizard, click No, not this time, when asked to connect to Windows Update. Click Next.
- Click Install from a list or specific location. Click Next.
- Select Don't search. I will choose the driver to install. Click Next.
- Click Have Disk, then browse to the driver folder of the SDK installation directory, for example, C:\Program Files\...\PGR FlyCapture\driver. Select a driver, then click Open. On the previous window, Click OK.
- Select the appropriate camera model or host adapter card. If more than one camera model has the same name, select the first model with that name. Click Next.
- The installation process proceeds. When asked if you want to install the self-signed driver, click Continue Anyway. Click Finish to complete the installation.
Related Articles
-
 Application Story
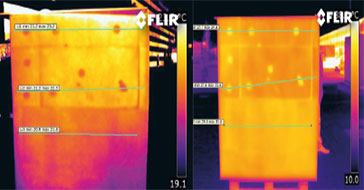
FLIR cameras support analysis and diagnosis of external thermal insulation systems
Read the Story -
 Case Study
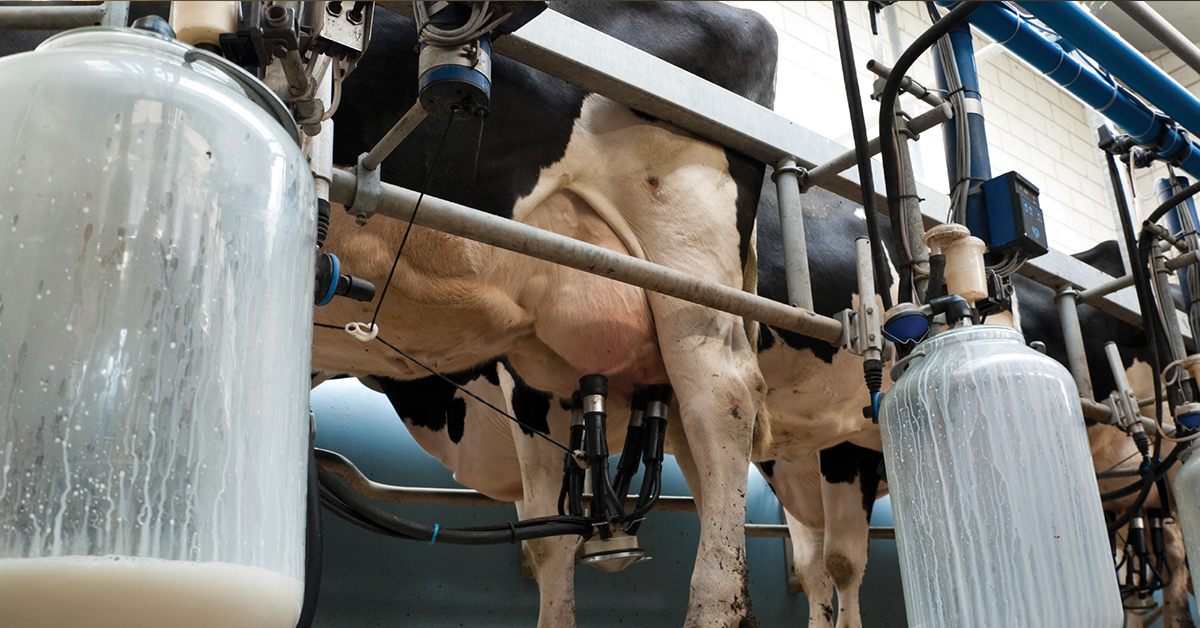
Automatic Health Check in Dairy Farms Using FLIR Thermal Imaging Cameras
Read the Story -
 Deep Learning
Comparing Deep Learning Cameras with Smart Cameras
Read the Story